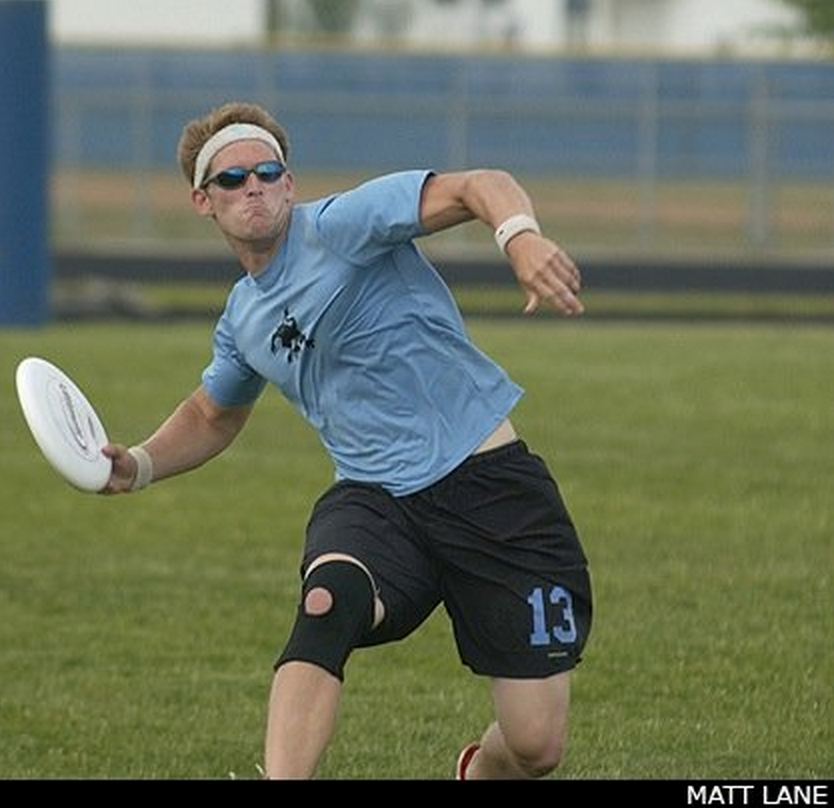
Useful written descriptions and analysis of the forehand.
June 9, 2015 by Kyle Weisbrod in Analysis with 6 comments
This is part two in a four-part series on the Forehand. You can find Part 1 here.
Here we will focus on two very insightful resources on the forehand that are missing key visual components that make them fully accessible.
Johnny Bansfield’s “Forehand Mechanics That Aren’t Taught” is a unique resource on forehand mechanics. What strikes me most about the article is both its descriptiveness and its tone. Bansfield goes into depth on grips using specific finger bone names and very exact angles to describe what he believes are best practices. At the same time, he describes other resources’ grips as “god forsaken” and “repugnant.”
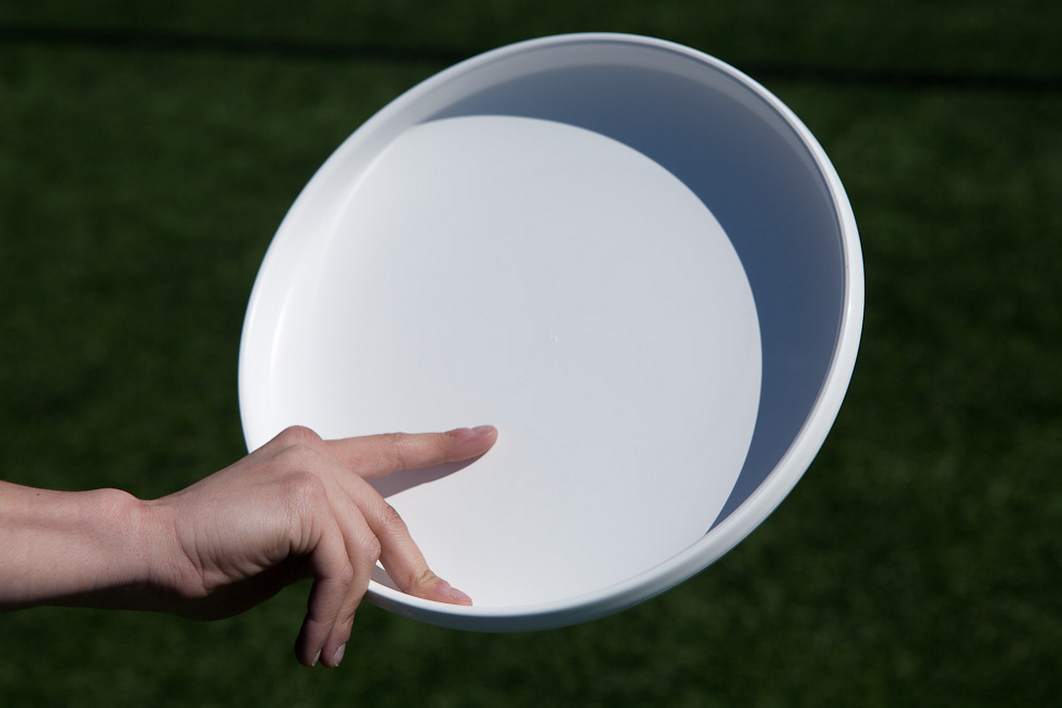
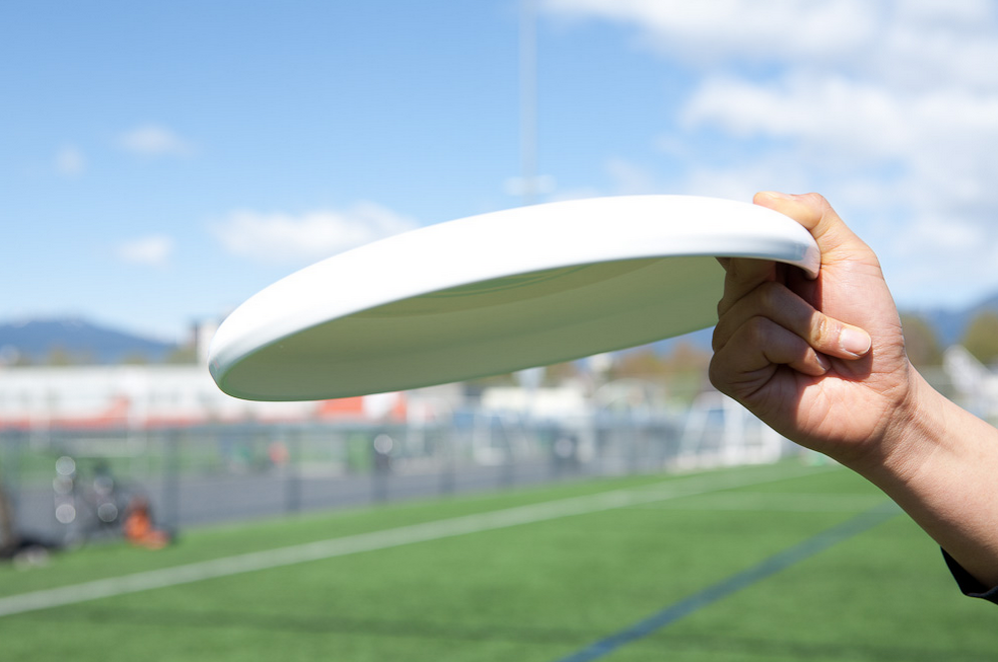
As far as the exact mechanics Bansfield discusses, I believe that he is largely correct. Let’s start with the the grip, where he is so critical of other resources. The large majority of throwing resources out there typically describe two sub-optimal grips: the “Split- Finger” and the “Power” grips.
The “Split-Finger Grip”
The “Power Grip”
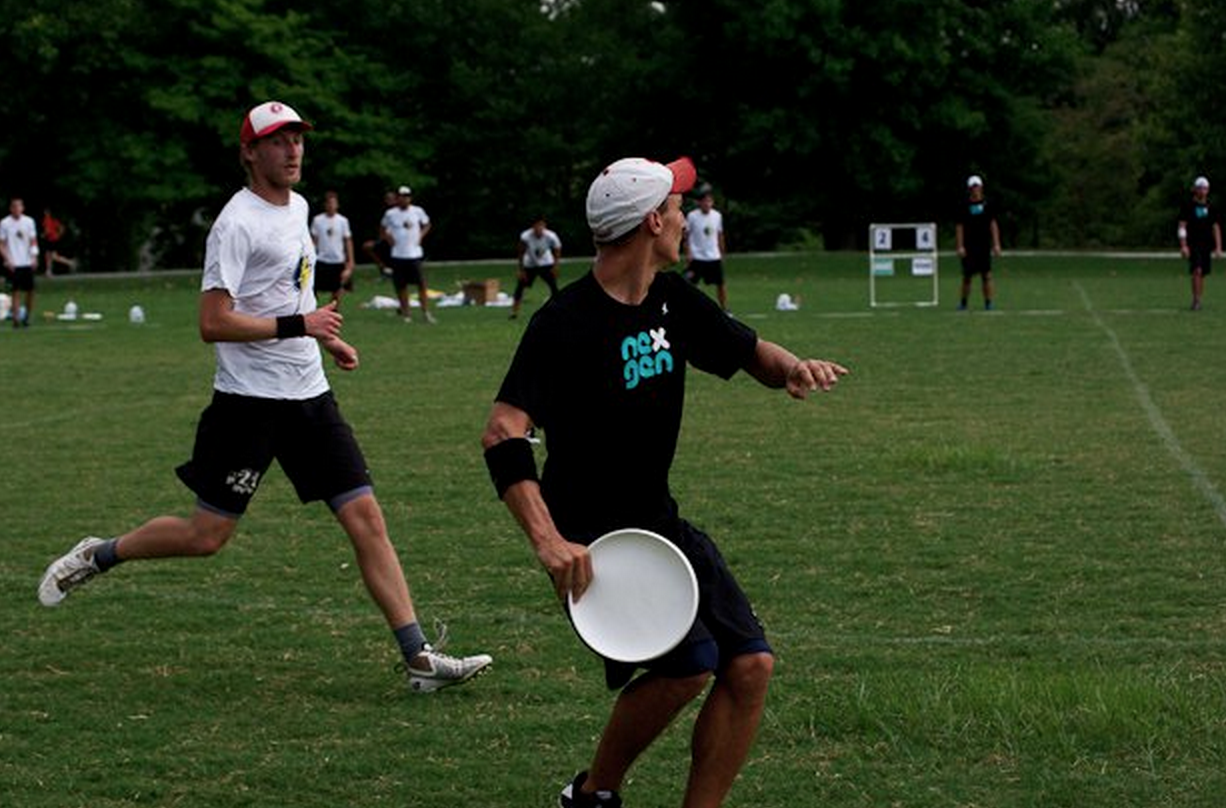
The grip that he describes in great detail — what we’ll call the “Elite Grip” is best practice and is in fact what is used by the majority of top throwers. Bansfield’s description is so detailed it makes my head spin a bit. While Brodie Smith doesn’t provide as much detail, his description is far more accessible, particularly because it’s shown in video.
Brodie Smith Forehand Explanation
Elite Grip
I want to acknowledge that everyone’s bodies are made differently, so some players may find success with suboptimal mechanics. I’ve known elite throwers with one fingered flicks and others with three fingered flicks. However, acknowledging that some players will find success with inferior mechanics does not mean that we shouldn’t introduce new and developing players to the best practices.
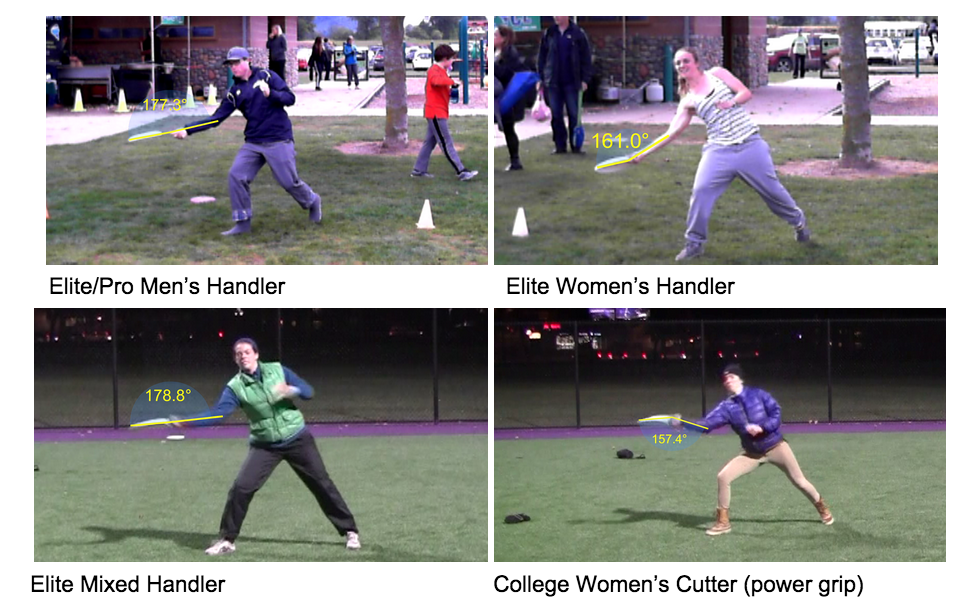
The other area where Bansfield breaks some new ground is in talking about the angles of the throw. He focuses specifically on the angle of the disc to the forehand. What Bansfield is identifying here is that you can tell if a player is utilizing the correct grip by the angle the disc makes with the forearm. I think Bansfield’s angle here is a little off because he’s focusing on moments prior to the release. At the time of release, you will be more likely to see elite throwers with a disc to forearm angle between 160 and 180 degrees. If at any point in the forward motion you see throwers with the disc over 180 degrees (i.e. the disc is pointed down relative to the forearm making the acute angle on the bottom of the disc and arm) you are seeing an incorrect grip: most likely one that is too loose or a “power grip.”
As we move forward with best practice discovery, we should definitely be paying attention to angles of the body and disc with an eye toward identifying angles which are truly critical.
While Bansfield’s recommendations are, by and large, correct, I think it falls short of being an easily accessible resource due to how wordy it is. There is a high level of translation that a reader of the article must do to put his recommendations into physical practice. On the other side, what makes it far more compelling than most resources out there is his use of pictures of elite throwers in the act of throwing. As opposed to the many posed or choreographed visual aids out there, the pictures Bansfield uses show what elite throwers are actually doing. That said, as a whole, the article has us working too much in the language part of our brain and too little in the parts of our brain responsible for visual processing and motor skills (both voluntary and automatic).
Bansfield’s resource is not the only one that uses more words than are necessary and far too few visuals. One of the biggest forehand throwers out there, Brandon “Muffin” Malacek, has an interesting blog post on how to throw huge forehands.
Malecek, like Bansfield, uses some colorful language to describe how to get power on forehands. He describes himself in the third person and talks glowingly about his own prowess. Of course, anyone who follows Malecek knows that’s part of his charm. The challenge, however, is that most of the important tips are half-concealed in the self-congratulation and rhetorical flourishes. And there is little visual guidance.
That said, he does put attention where many coaches and resources miss–the shoulders, specifically what you are doing with your off arm to generate shoulder rotation and power.
And, while there is only one piece of visual support in the article, it’s a powerful photograph for those looking at the right parts of the photo (i.e., the shoulders, hips, and grip). Notably, it’s one of the photos that Bansfield uses as well.
Finally, he includes some useful and original cues. I particularly like the crashing car analogy that he uses as it helps readers to understand the idea of transferring force from their body to the disc in a useful and comprehensible way.
The analogy which best suits the mechanics of a forehand is the crashing car scenario. A car is driving fast and there is in incredible amount of force being built up. However, the unbuckled passengers can not yet really appreciate this strong acceleration, until another force acts upon it. When the car hits a solid object and suddenly stops, all of the acceleration now lands upon the passengers, thrown forward through the windshield – going from 0 to 100 in the split second it takes the car to stop. Now imagine the disc is the passengers and your arm is the crashing car. The elbow and arm swing forward aggressively and only when the wrist snaps to stop and recoil does the disc speed out of your hand.
Again, Malecek’s guidance to throwers isn’t wrong. However, it falls short of being as accessible as it could be due partially to its verbosity and diction and partially due to the lack of visual aids. But it gets a 9/10 for entertainment. We’ll revisit the shoulders in greater detail in part four of the series.
Coming in Part 3: One Throw To Rule Them All
